Delica sketch


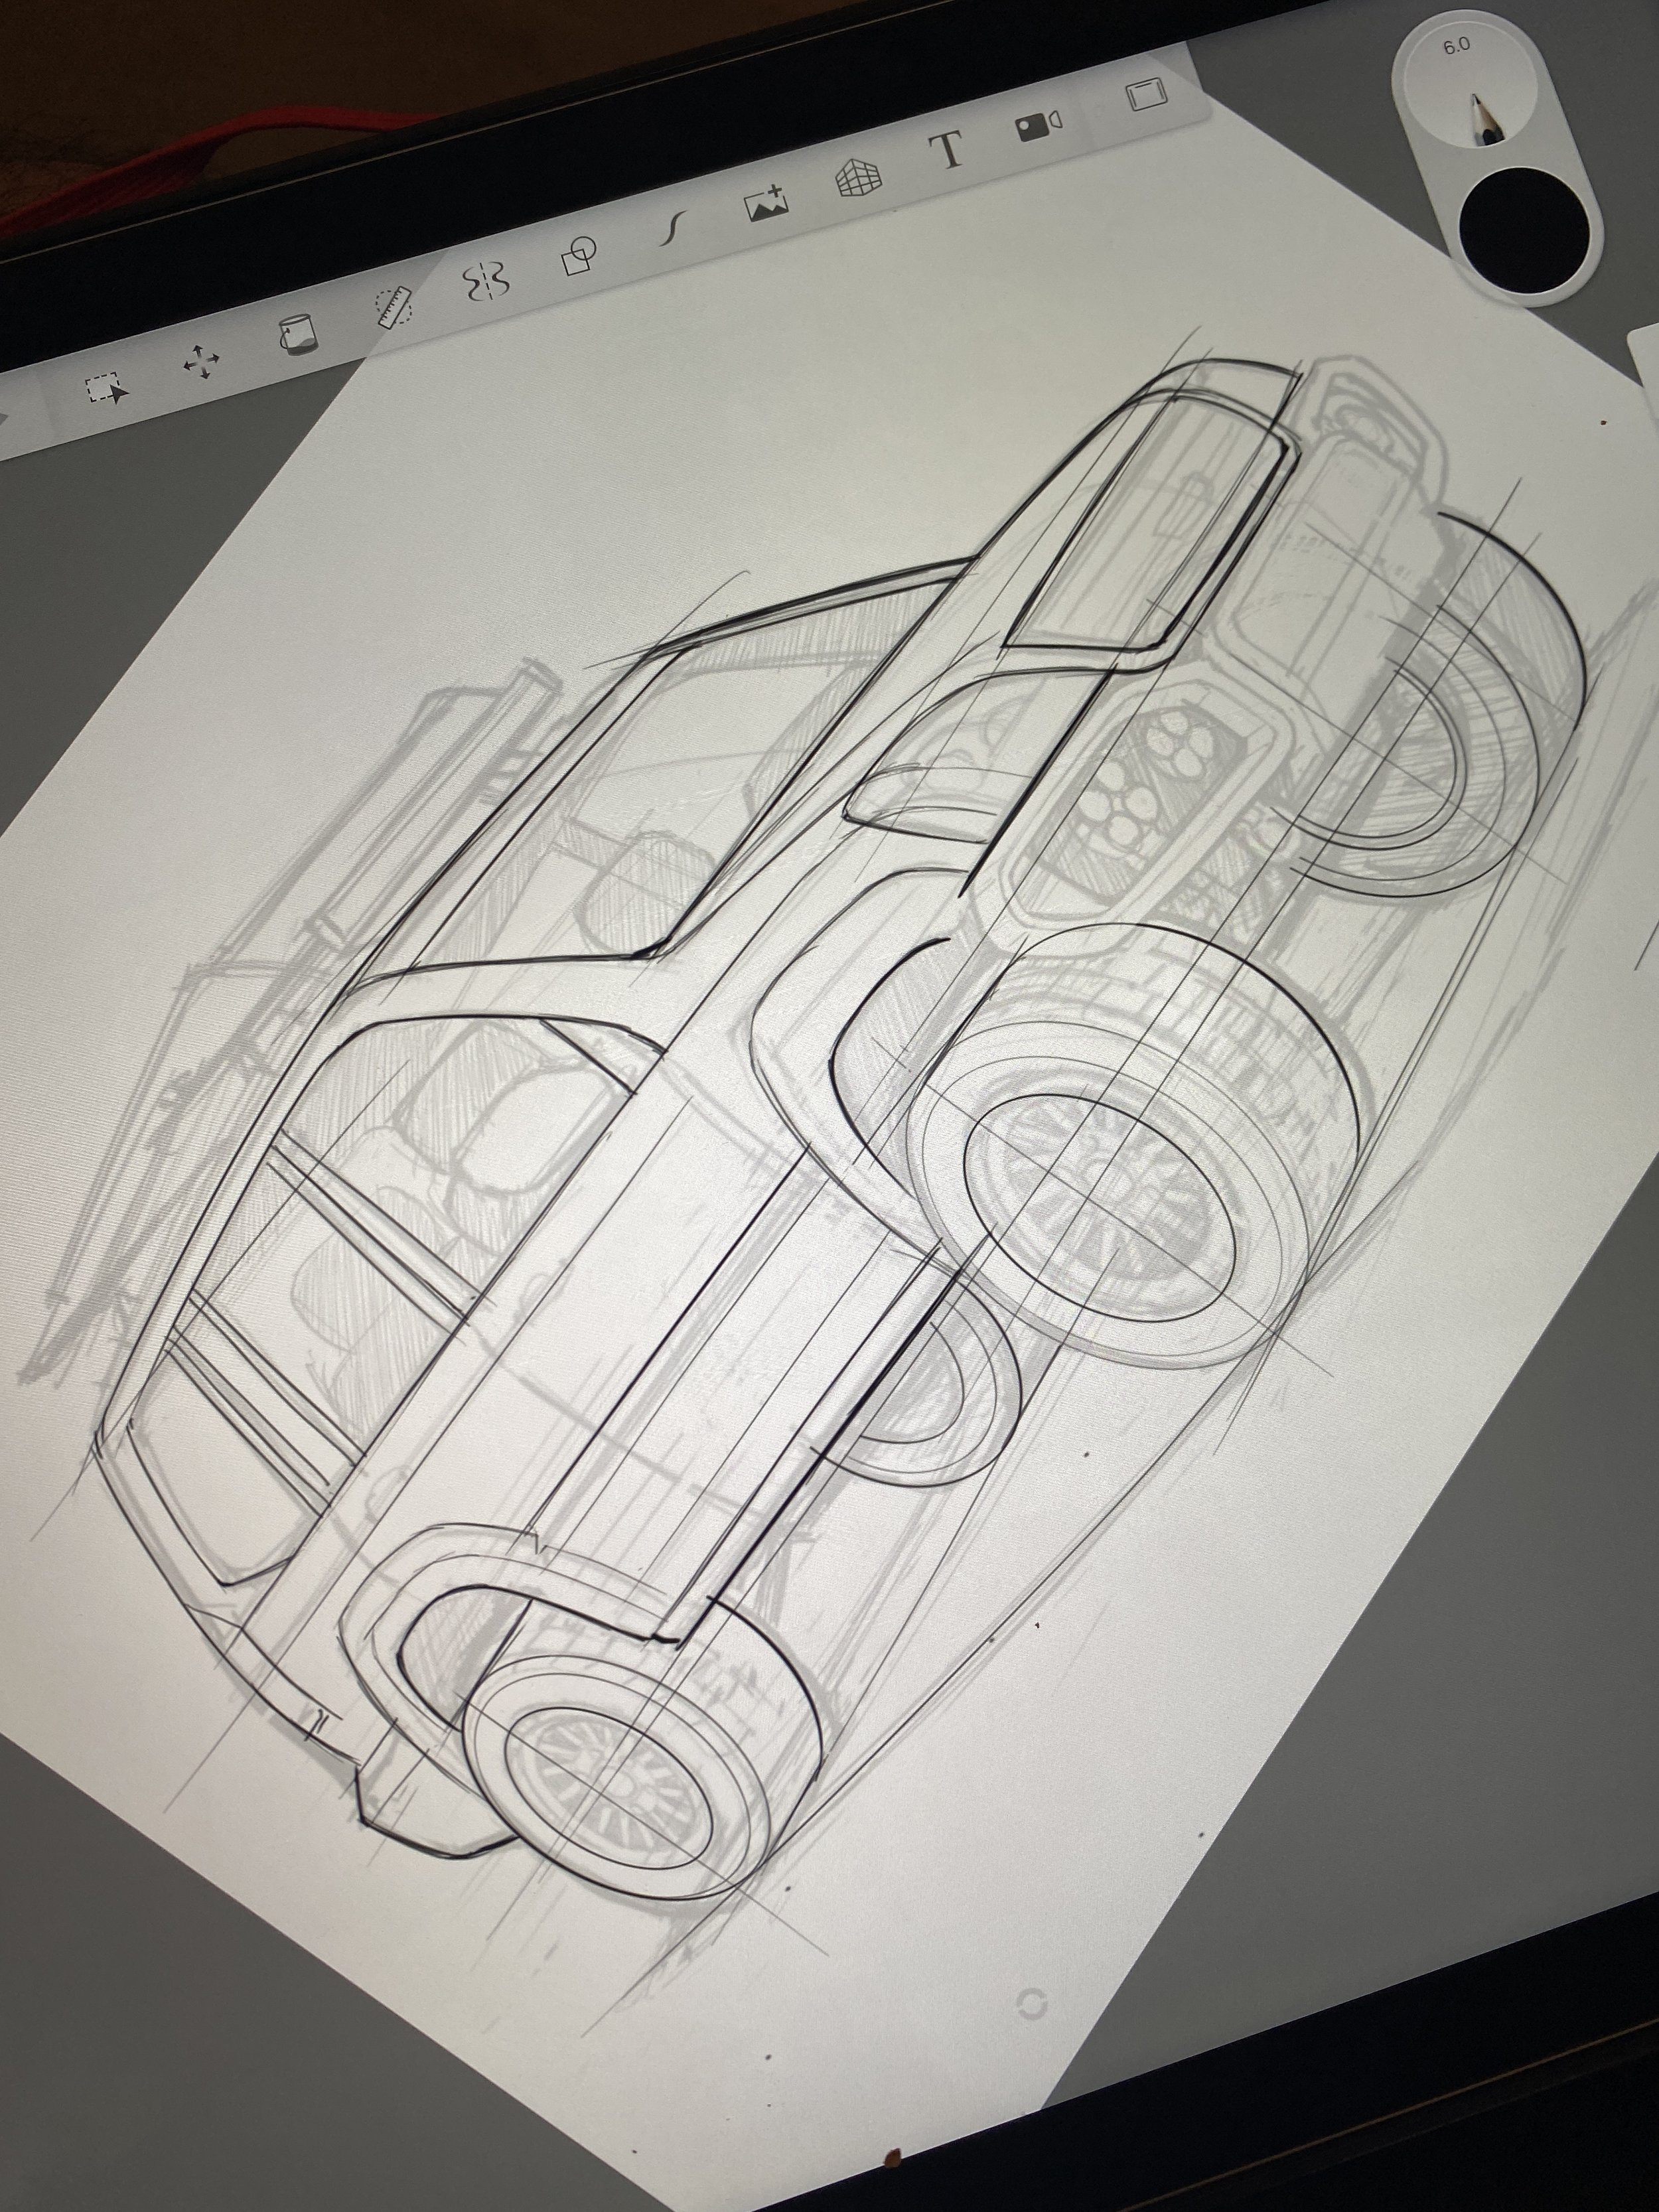
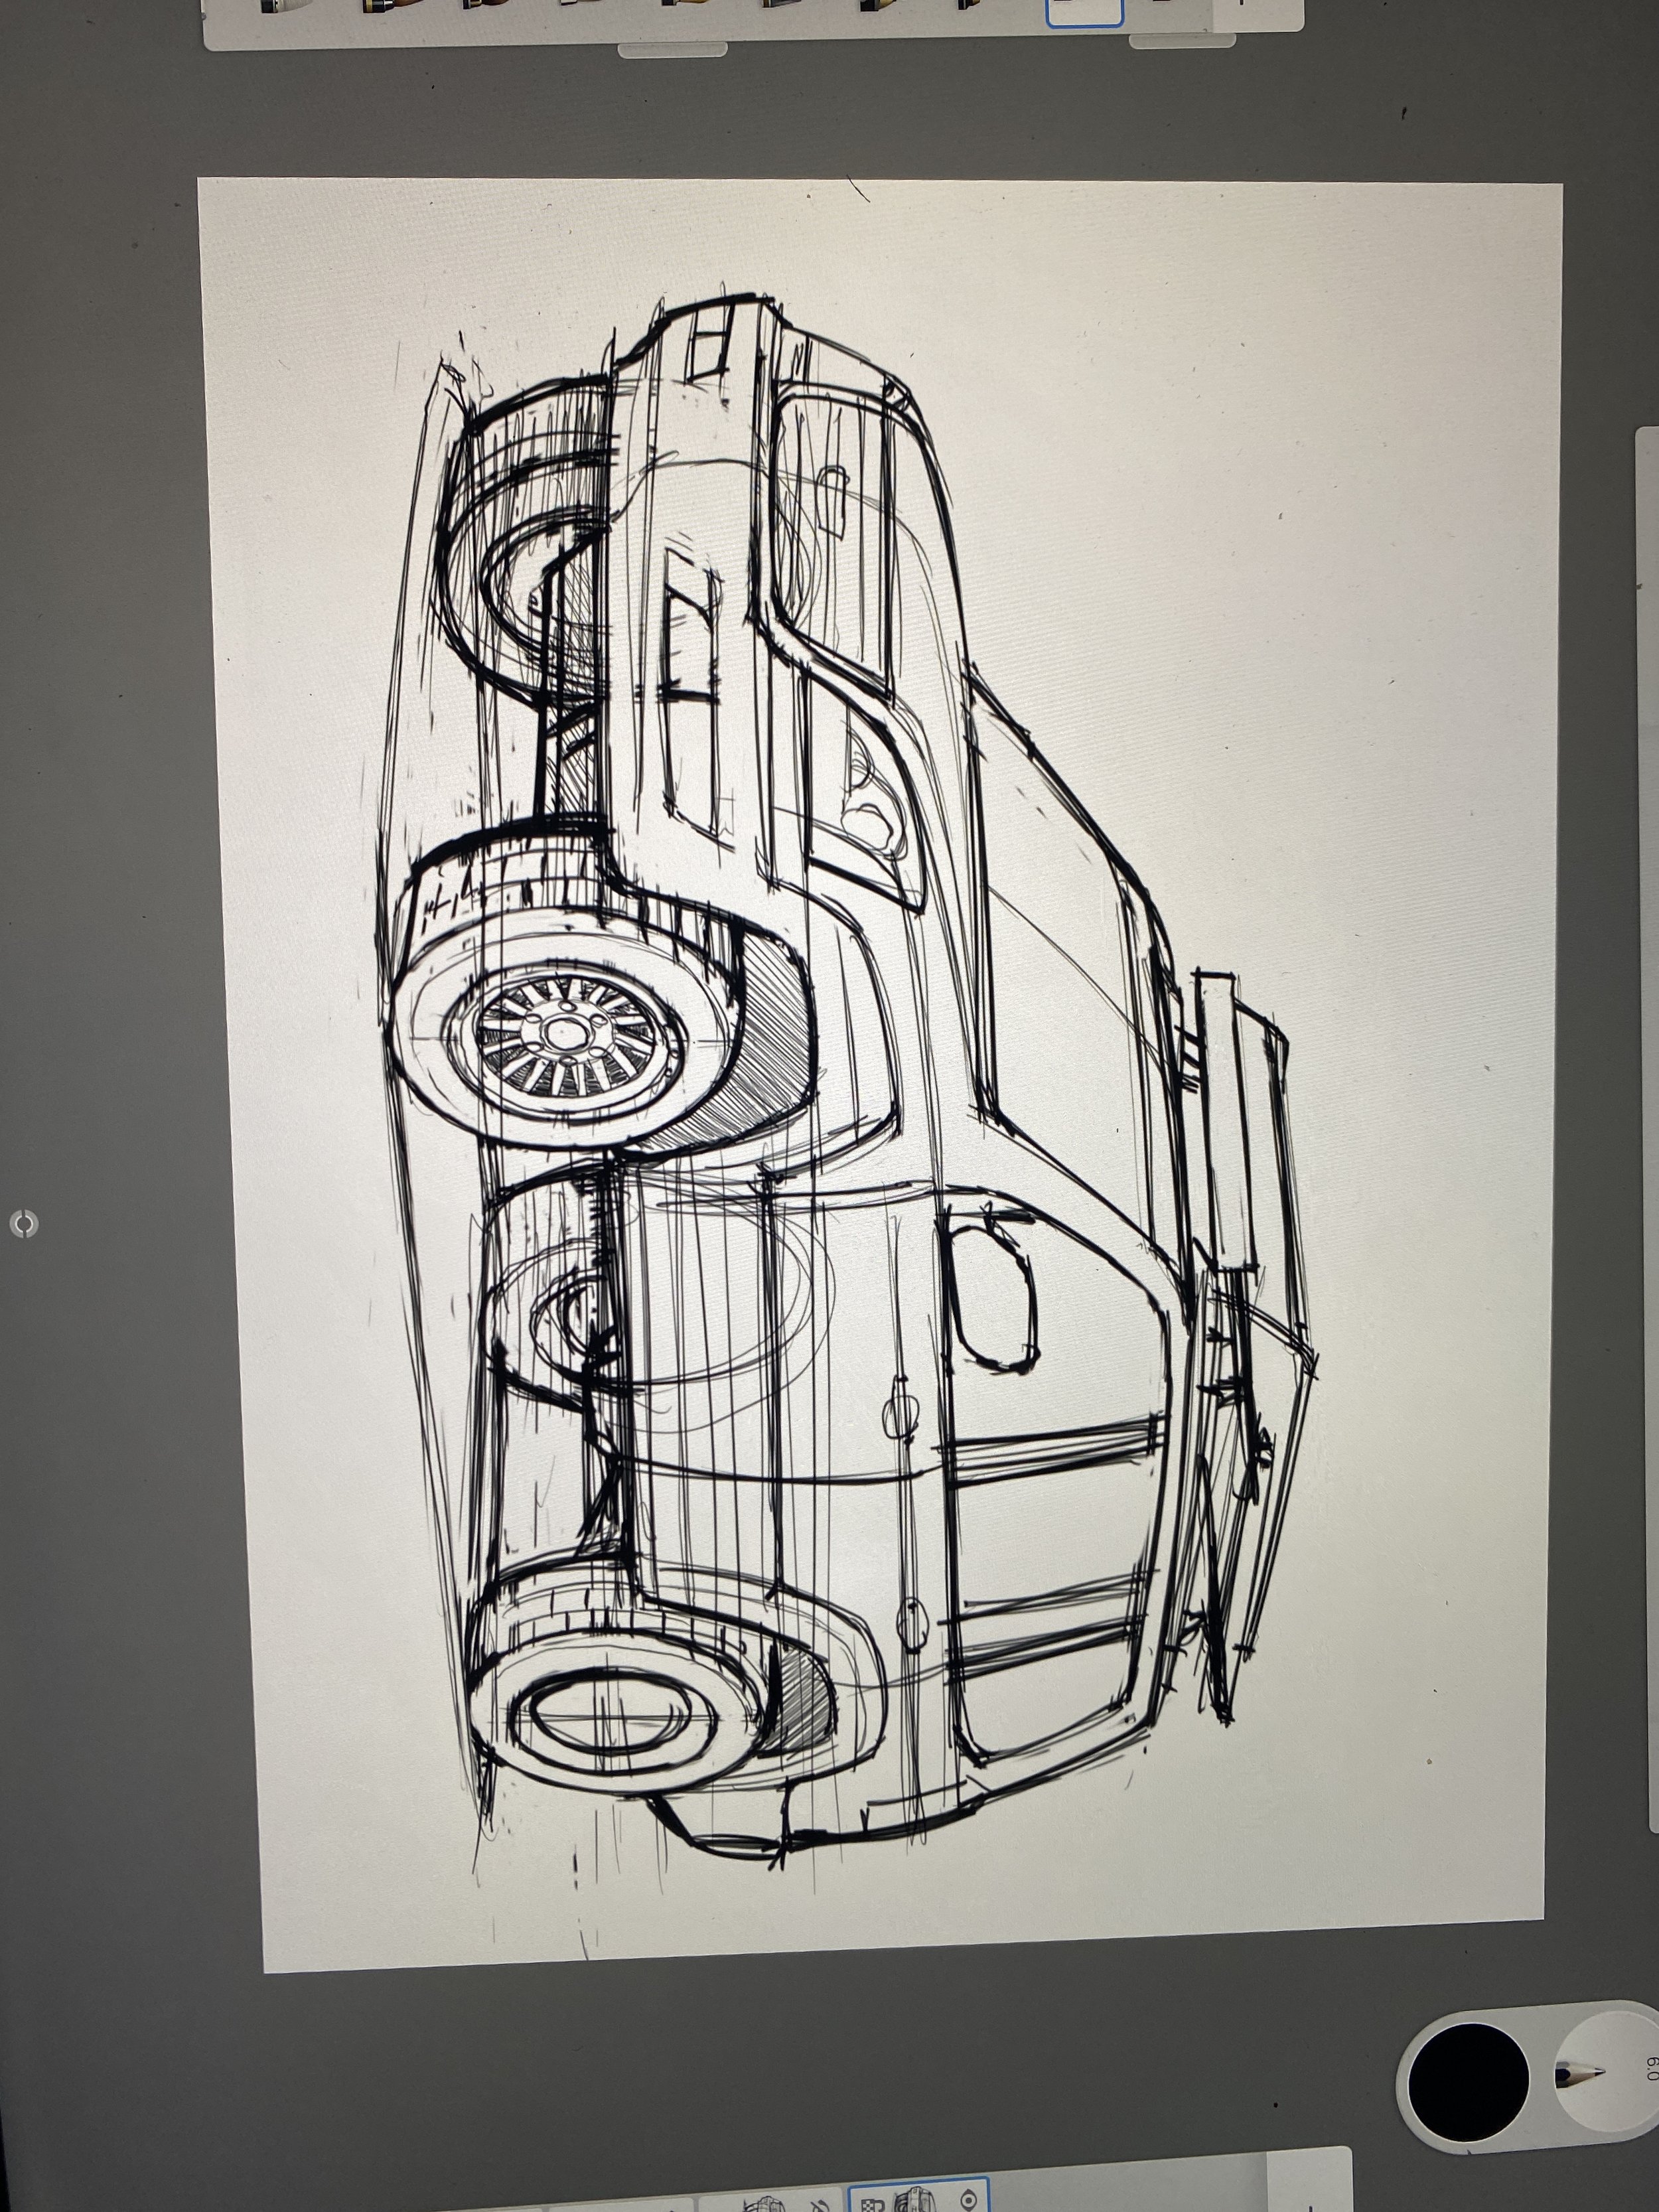
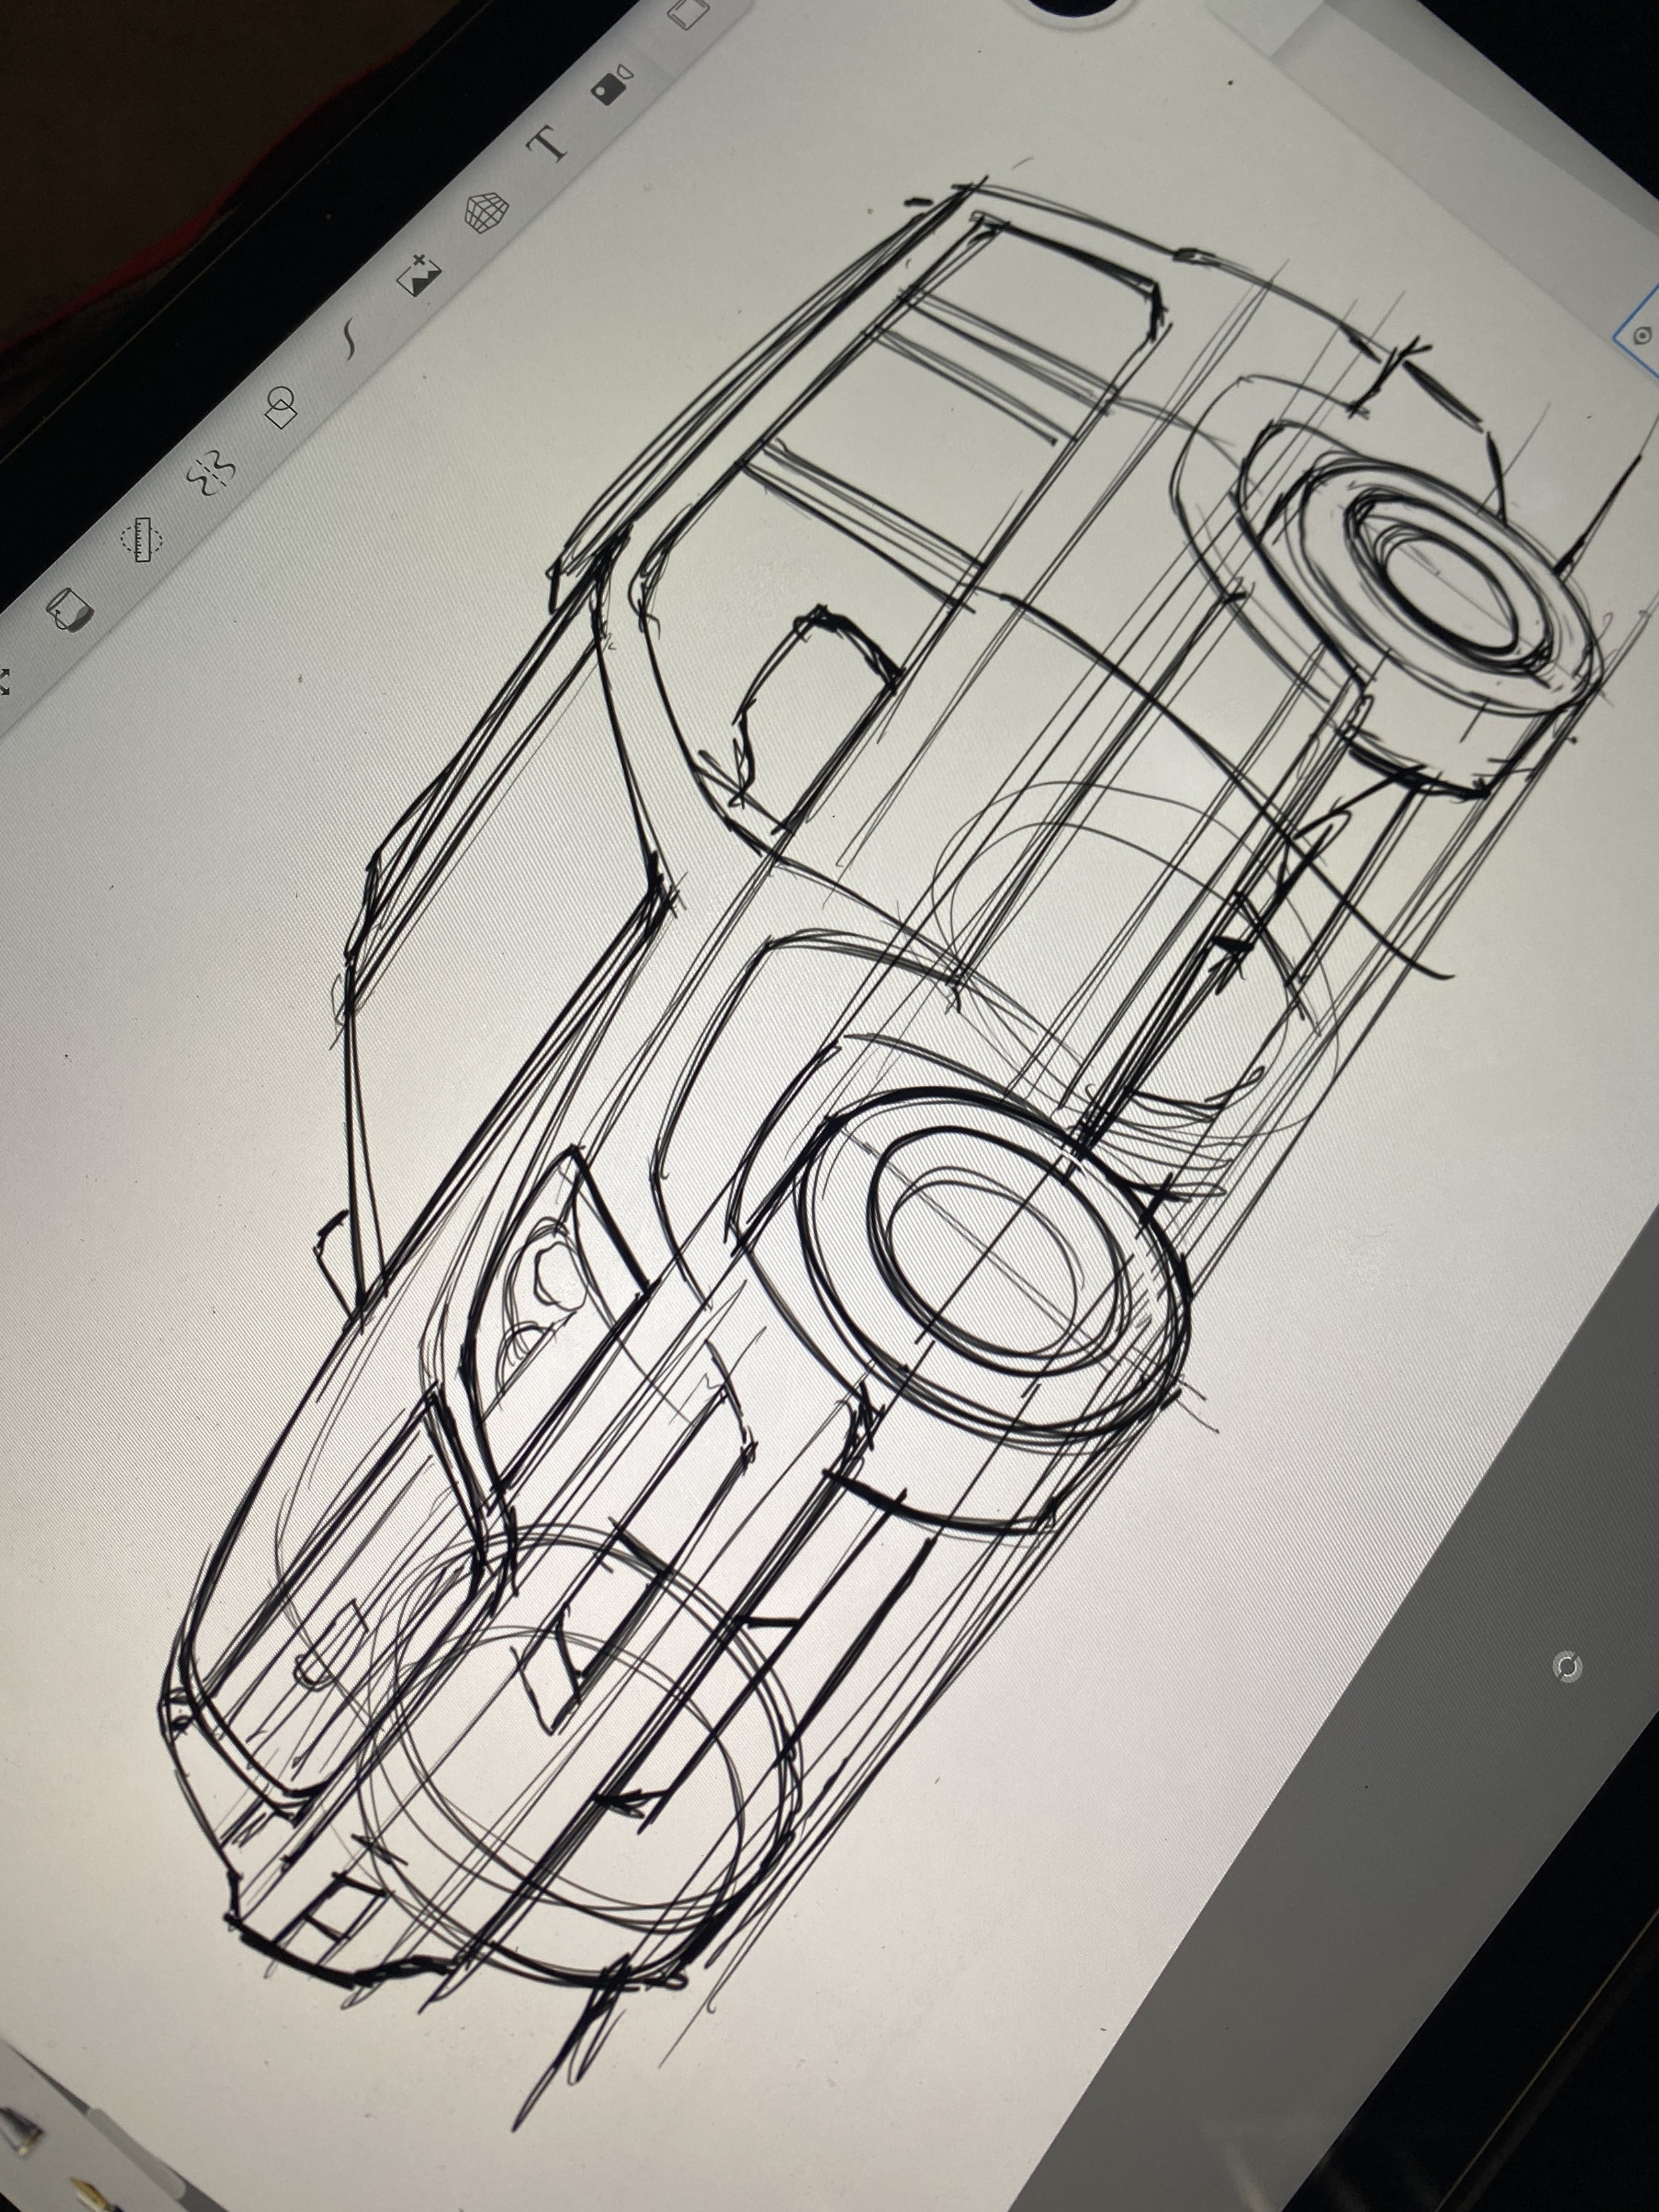
One vehicle I’m particularly a fan of is the Mitsubishi Delica. The first time I’ve seen one of these was in Austin. I was very drawn to its stubby proportions. With its knobby tires, brush guards and vinyl graphics, it looked like a very adventurous looking vehicle from a different era. This was sketched on an iPad using Sketchbook Pro.


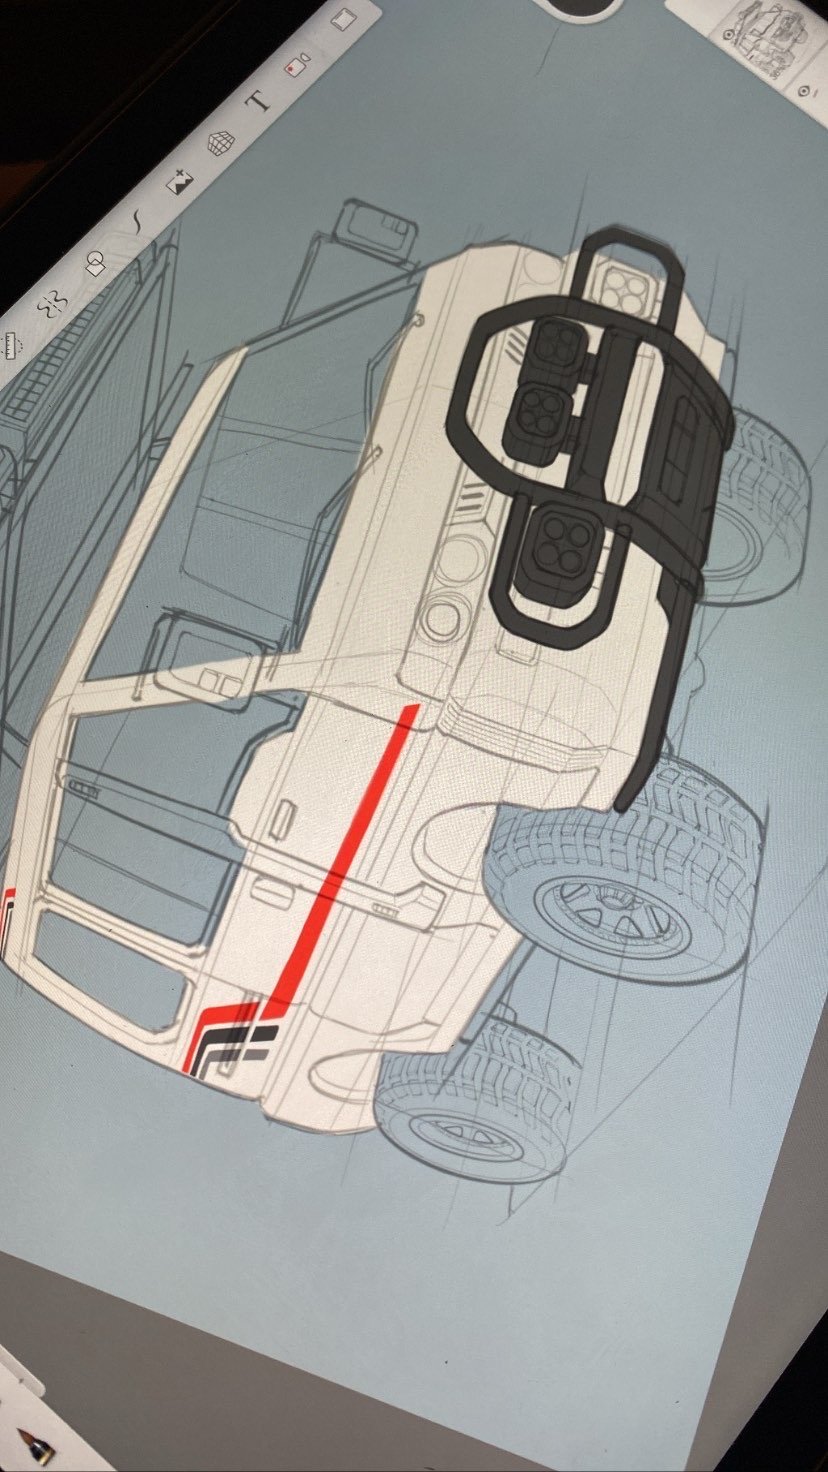
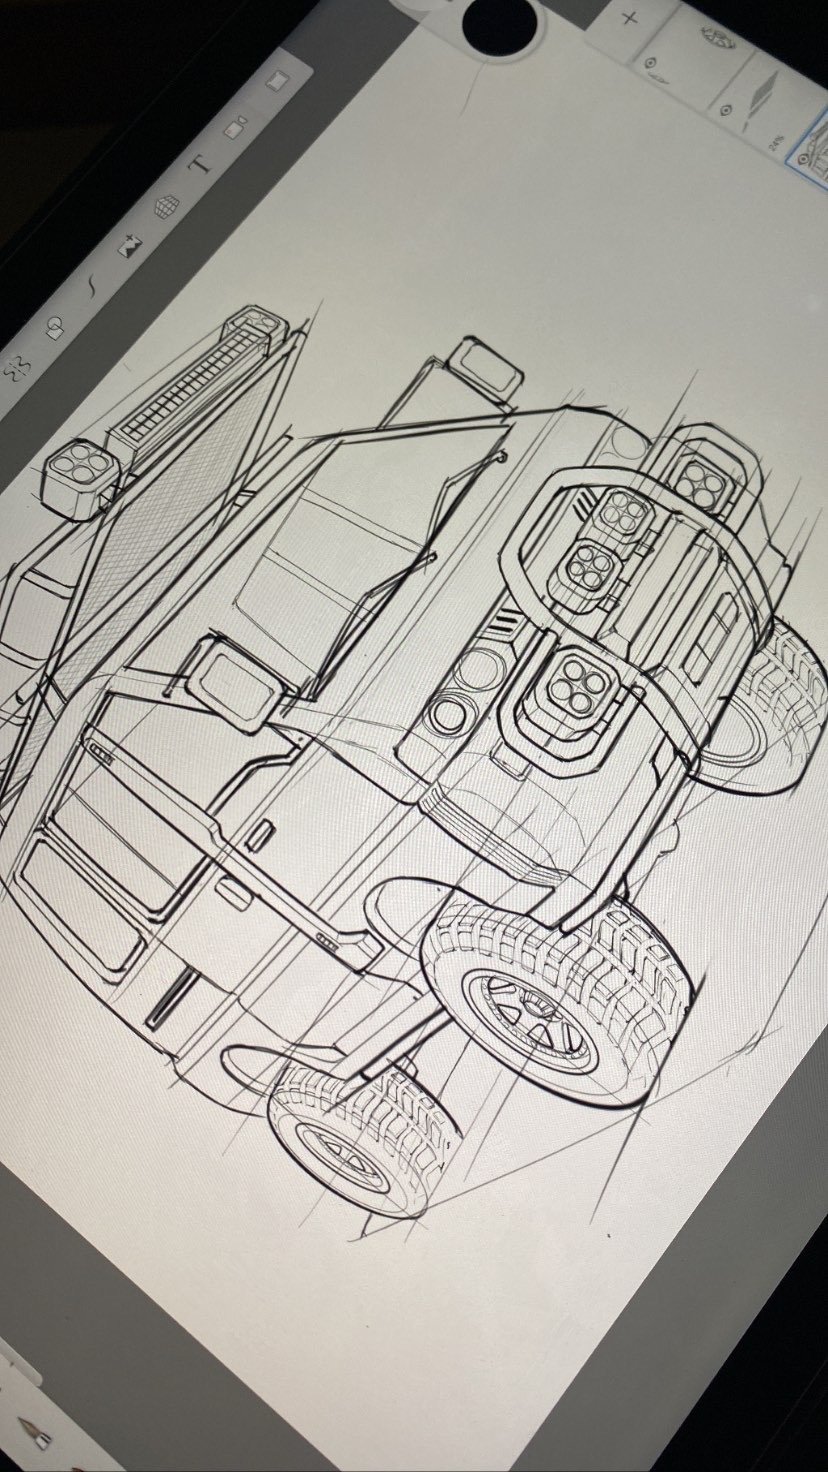
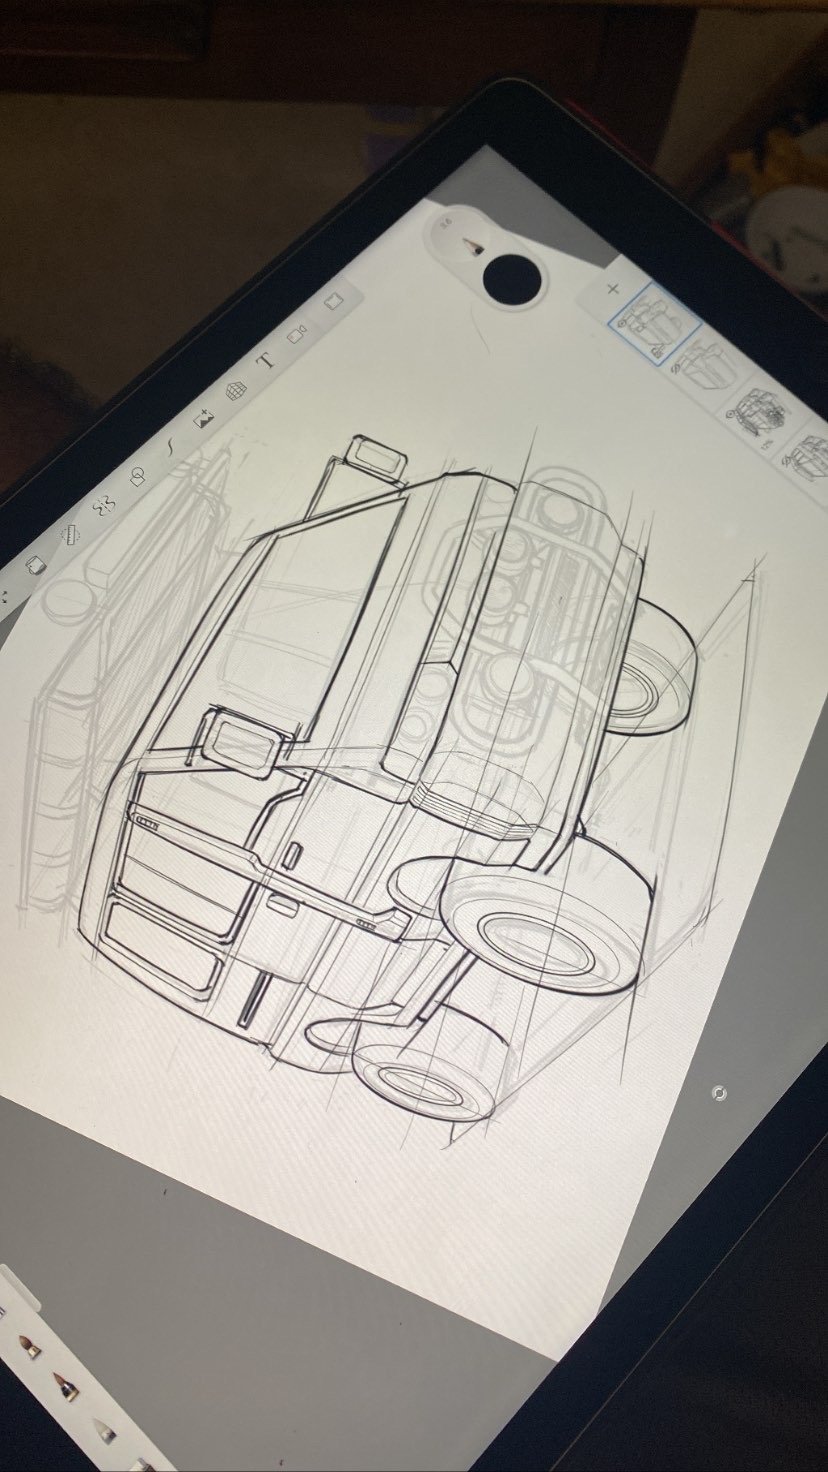
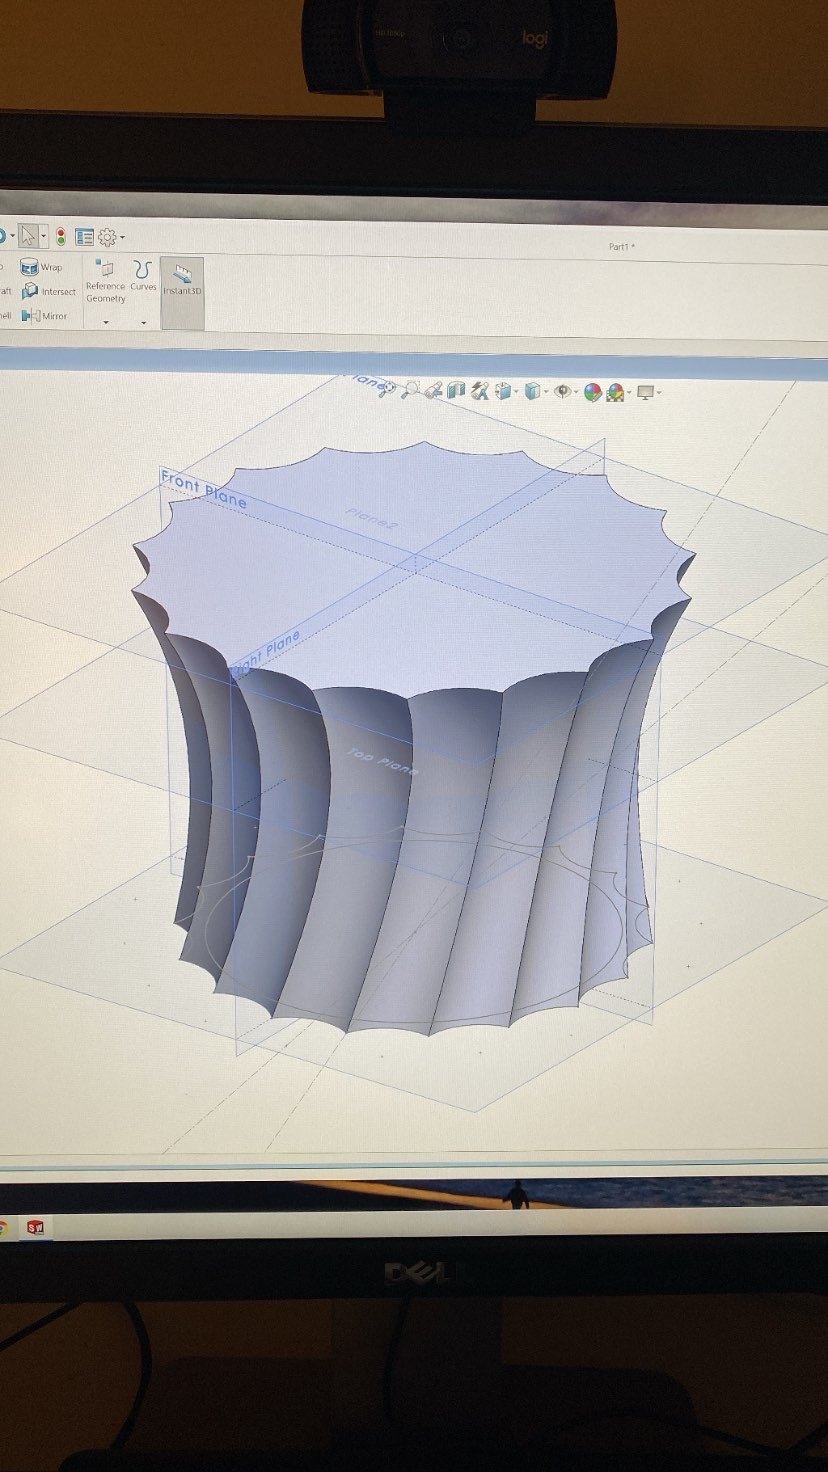
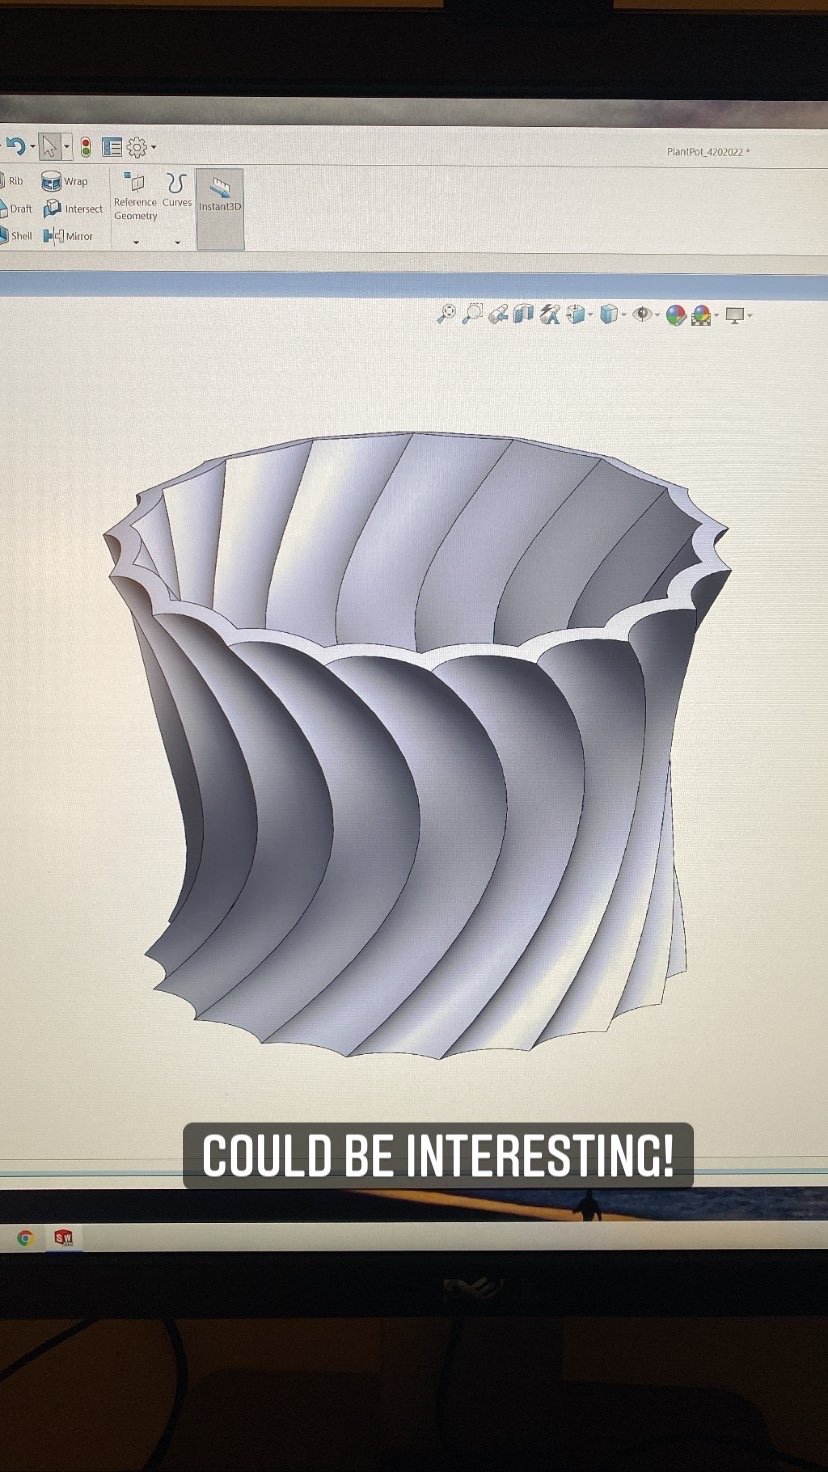
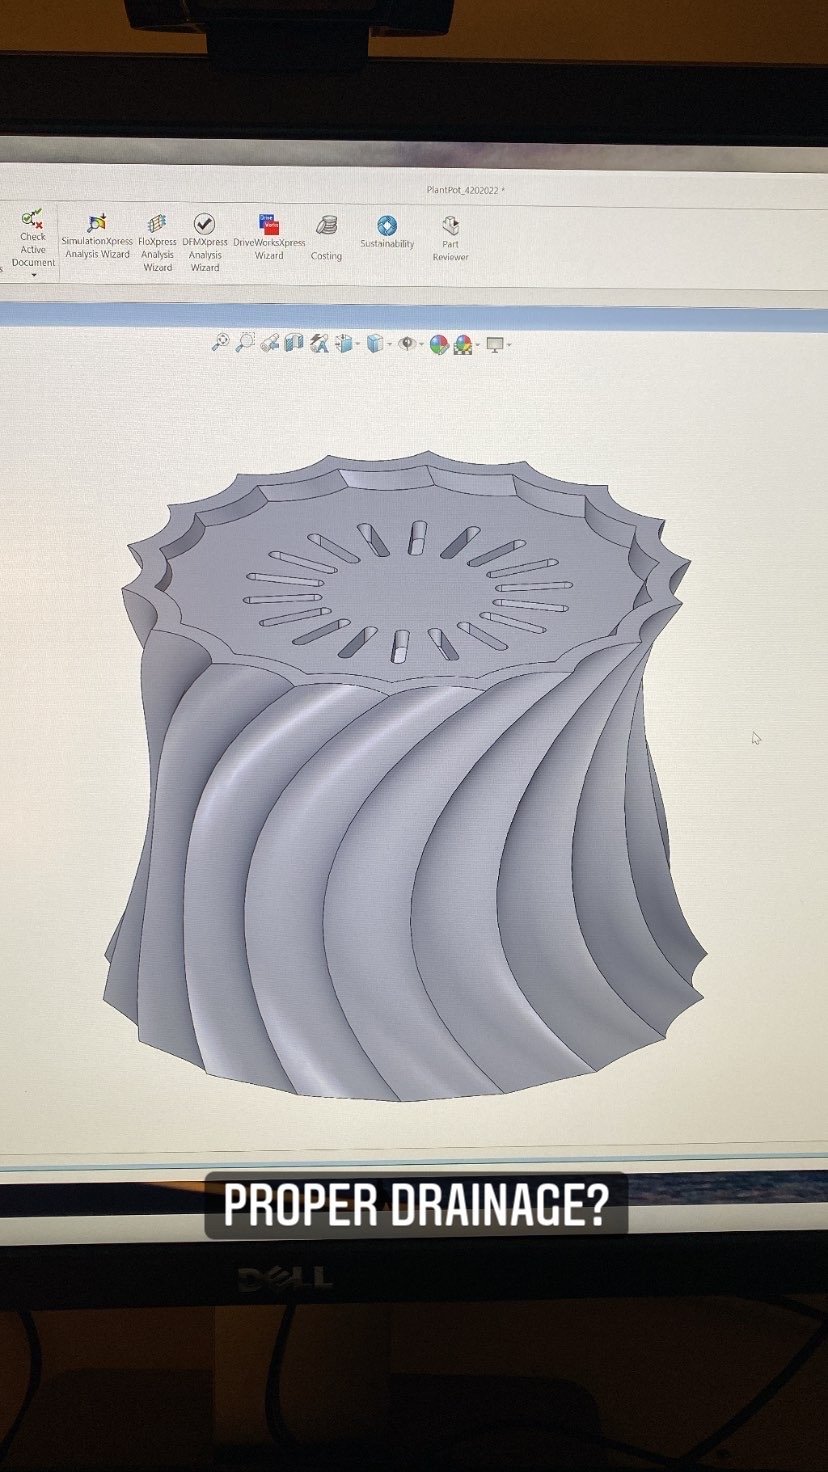
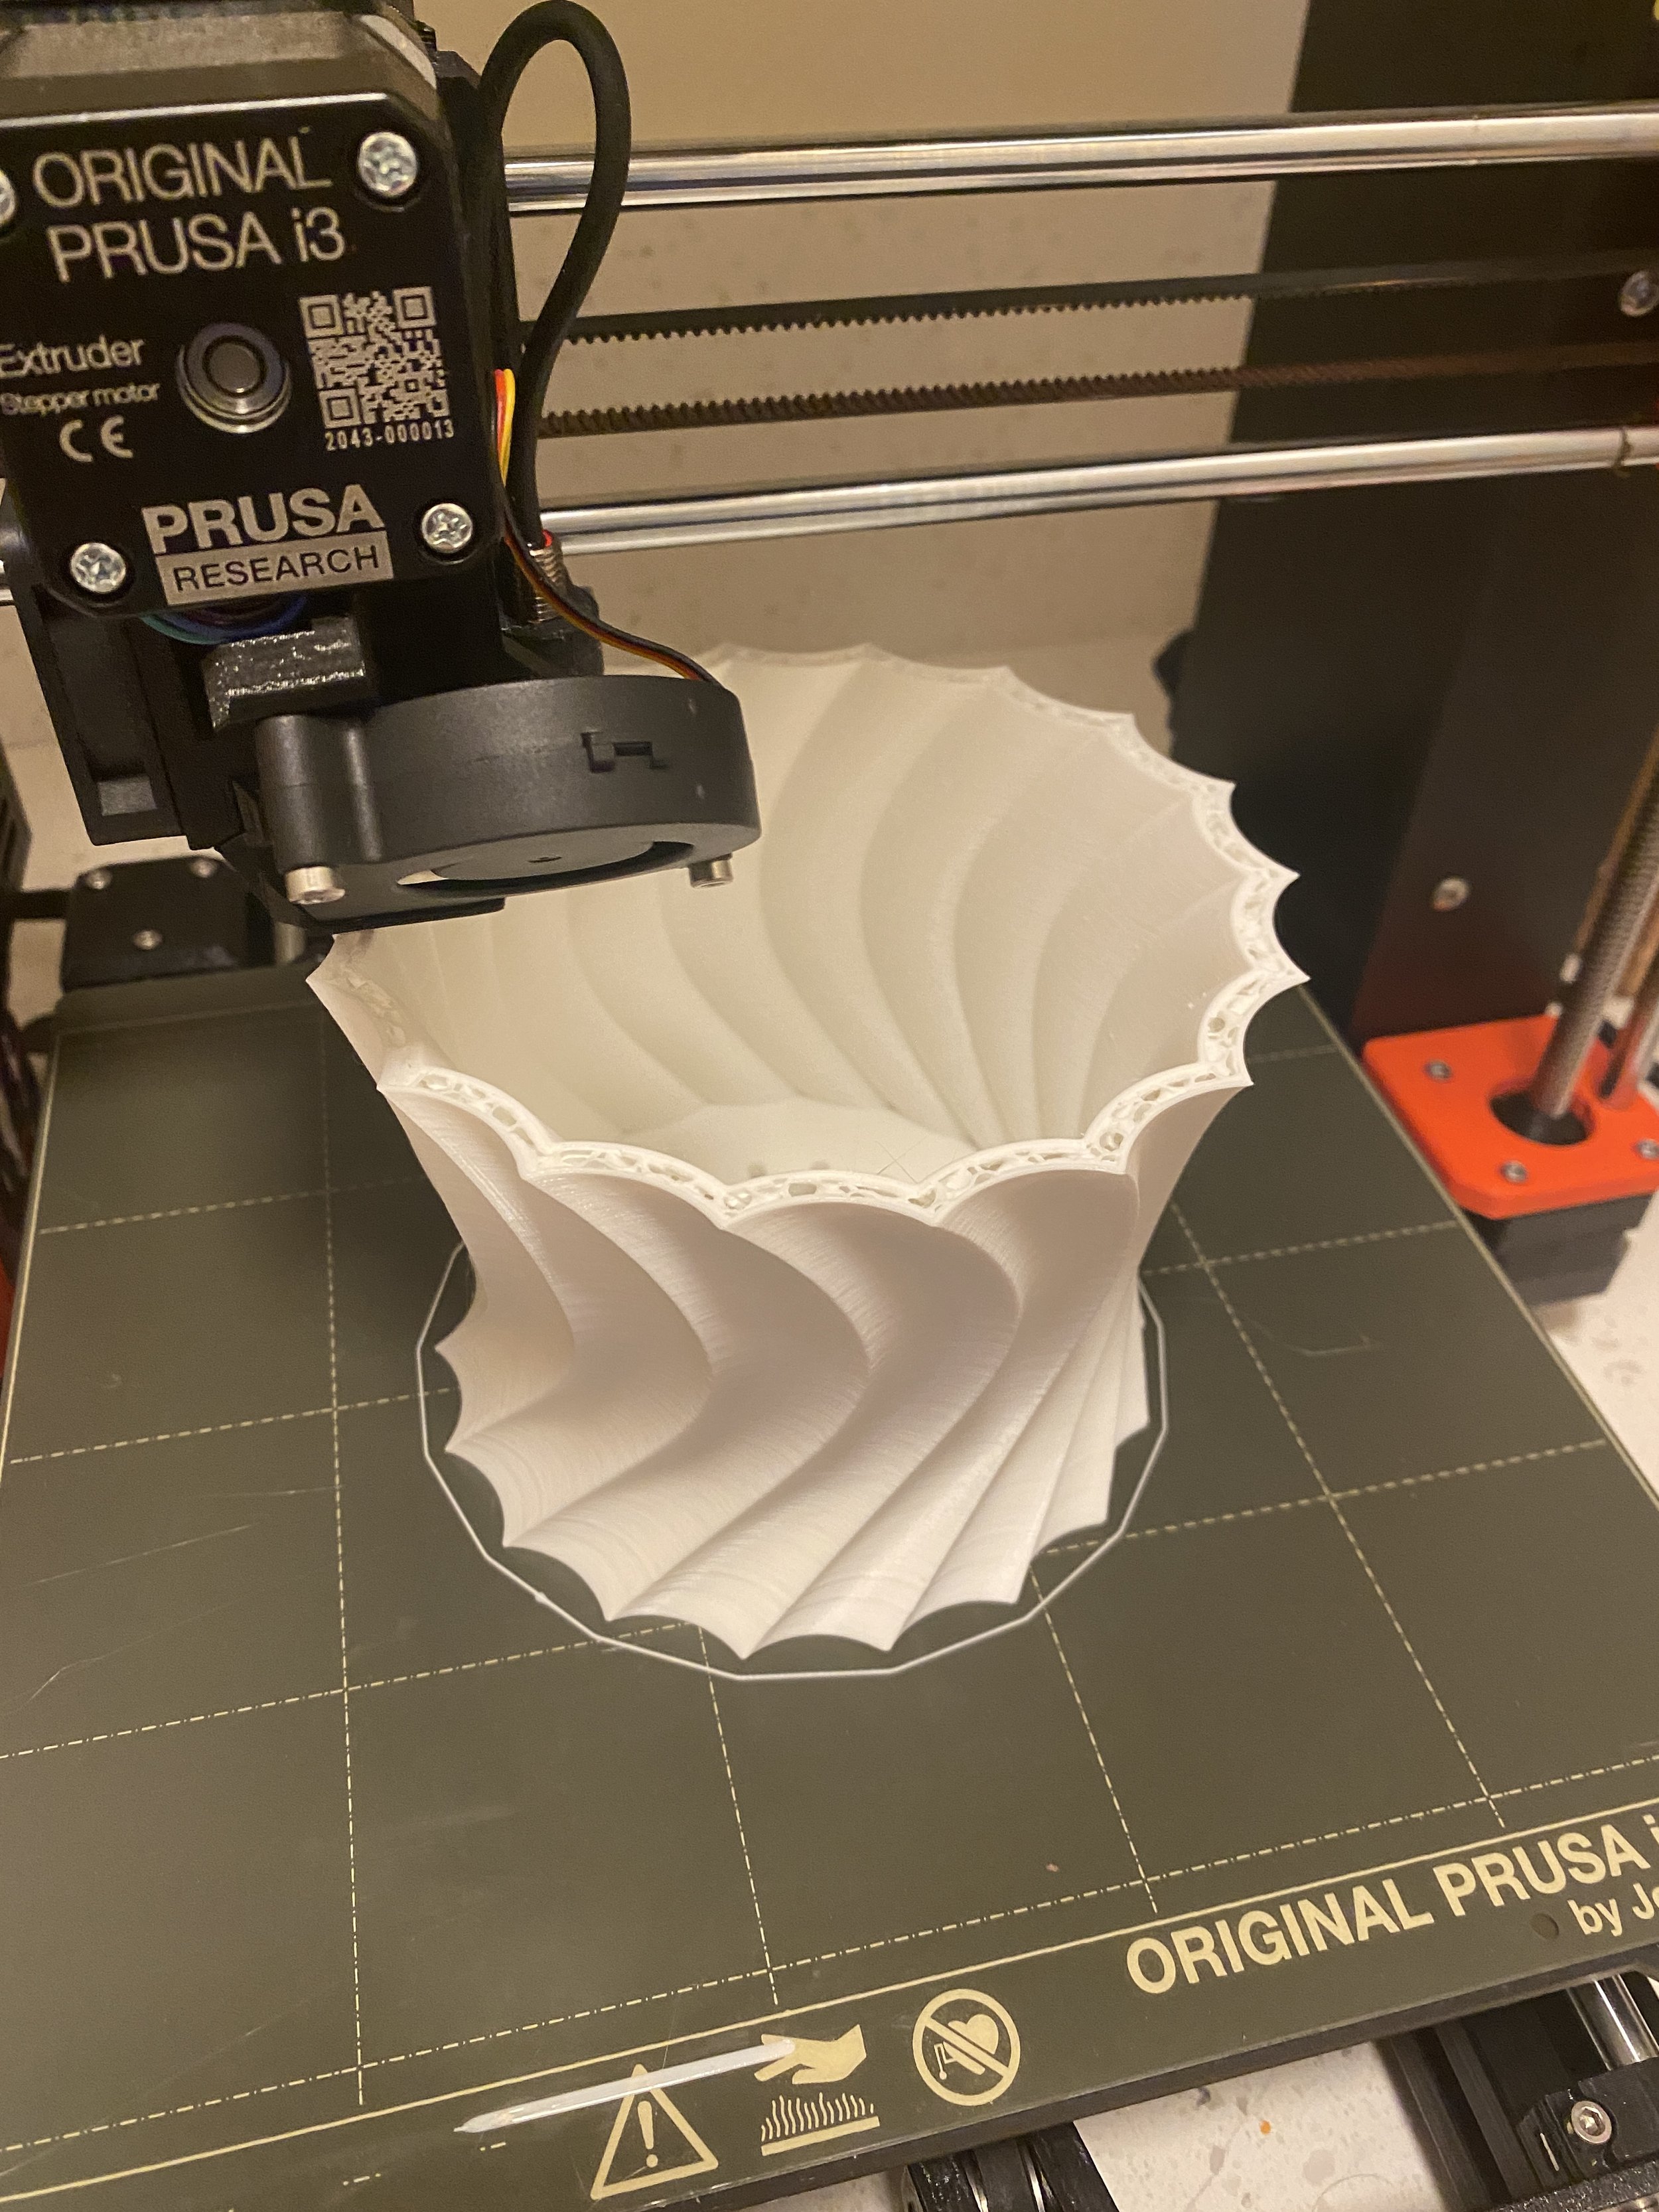
Some initial progress before the final version.


GX470 sketch


Around Torrance, I see a lot of interesting different types of vehicles. I’ve seen R32 GTRs, Mclarens, Ferraris, and even some stanced Lexus LS430s. One vehicle I’m a fan of is the modified GX470. When I was in college, these were primarily used as grocery getters driven by soccer moms. Lately, people are learning that these vehicles are great for off-roading. Around town I’ve seen examples of GX470s with lift kits, roof racks and extra fuel canisters. I think its a very cool, repurposed look.

I wanted to create a sketch thats aggressive, yet fun. I thought pearl paint with bronze trim would look classy. The design features useful off roading accessories like a roof rack, extra gas tank, a modernized brush guard and plenty of LED lighting. This was sketched on an iPad with Sketchbook Pro.


Some initial progress before the final line drawing and color.


3D Printed Plant Pots


One thing I always wanted to do with a 3D printer was to create some interesting plant pots. I did an image search and saw some really interesting designs
that you couldn’t produce with conventional injection molding.


I sketched out three different types of ideas. The first is a “screw” type design. It’s a design that looked more scalloped and organic.
The second design involves a pillowed “waffle” design that wraps around the pot. With the third design, I sketched out a more geometric idea that where each layer resembled a ring of bricks.


Amongst the three, I liked the “screw” design the best, and wanted to see how it can be made. With Adobe Illustrator, I explored different types of profiles. Some profiles were more dense, while other profiles were more organic or geometric.


Using Solidworks, I tried modeling a few of these profiles and liked the scalloped profile the best. I copied the profile onto three planes and experimented with size and rotation to get the right shape. After finding the right shape, I added a base with drainage holes that features a rotated pill-shaped hole design.


After almost 19 hours of printing, the first design turned out great!


I was very pleased with how this pot turned out. The overall shape looks modern and sculptural.
The rotating design has movement like a turbine.


The next design I attempted to model was the “waffle” design. After a few attempts trying to emulate the scalloped surfaces I sketched, I settled upon creating a more geometric pattern and then added rounds to the inner surfaces to create a softer look. The pattern almost resembles a pineapple skin.


After 17 hours of printing, I was very satisfied with the result. The overall design looks more robust
compared to the more organic 1st design.


I’m very satisfied with how these first two designs turned out. I may create more designs in the near future. If theres enough interest, I may sell these pots individually.


A mural for Rajiv and Harsha Satyal


Around March 2022, my friends Rajiv and Harsha asked me if I could paint a mural to add some color to their backyard. I was a little hesitant at first, but then decided that it would be a great opportunity to re-live some of my mural days back in Austin. They wanted something that is vibrant, and reminds them of Los Angeles. Before painting can start, I created proofs with Sketchbook Pro and Photoshop.


My initial idea was to create a Los Angeles skyline. I was imagining the Hollywood Hills against an evening sunset. The sunset would feature a gradient with a warm yellow, into orange and then a deep purple. It was interesting, but they wanted to see ideas that incorporated more green and orange.


The next ideas incorporated elements of Los Angeles. I was thinking about incorporating the Santa Monica Pier ferris wheel, the Chinese Theater, Laugh Factory and the Comedy Store. The ideas represented Los Angeles, but looked too busy.


The winning proof was an evolution of the sunset idea. This proof featured more orange and emphasized the sky. The Los Angeles elements were toned down, and became details within the painting. The Hollywood sign became more prominent.


With the proof approved, I bought the appropriate supplies and started working directly on the wall.


Within the first day of painting, I was able to put down all the elements. There was still a lot of work to be done brightening the sky, honing down the details and tightening the lines.


Putting down a few tape lines was very effective in defining the sunset, ocean and skyline.


After a few more hours painting by brush, I considered this mural done!


I was very satisfied with how this turned out. Painting against a porous surface was a little difficult, considering that the lines wanted to become blurry.
Taking the time to finish the details with brush was very necessary to create a clean looking painting.


Here’s me with some very satisfied customers!


Some 3D prints


Since the first Prusa nameplate print, I’ve been dabbling in a lot experiments. There has been a lot of headache, tweaking and failures.
Through these experiences, I’m now more comfortable using my Prusa MK3S+.

I bought and tested a variety of different filaments. I experimented with both PLA and PETG.


The Lucky 13 model was a bit tricky. It required more precision to print the smaller parts and make them fit to form a posable action figure.
I learned that PETG is a better material, due to its flexibility vs the brittleness of PLA.


After figuring out the smaller Lucky13 figure, I decided to print a larger version. The larger version was very successful, with the parts fitting together correctly and feeling robust. I think it may have taken around 4 days to print out all the parts.